When I think about holiday cooking, I remember how a simple ham can turn into a centerpiece with just a handful of ingredients. This recipe is my go-to because it’s forgiving and customizable—perfect for busy kitchens or lazy weekends. The secret is in the glaze, which I love to tweak based on what’s in my pantry or what’s blooming in the garden.
Why I Keep Coming Back to This Glaze
It’s a perfect balance of sweet and savory, with a touch of citrus that lifts the whole plate. I love how the aroma fills the kitchen, promising comfort and celebration. Every time I make it, it feels like I’m reconnecting with holiday traditions, yet putting my own spin on them. It’s become a part of my seasonal rhythm, inviting everyone to gather around and savor.
Breaking Down the Flavors: What Goes Into the Glaze
- Orange juice: Freshly squeezed for brightness, but bottled works in a pinch—look for a zesty punch.
- Dijon mustard: Adds tang and helps the glaze cling; substitute with whole-grain for texture.
- Honey: Sweetens and balances the acidity; maple syrup can replace it if desired.
- Soy sauce: Gives a smoky umami depth; coconut aminos makes a good swap.
- Brown sugar: For caramel richness; regular sugar works if you prefer less molasses.
- Clove or cinnamon (optional): A dash adds warmth, especially in winter; skip if you want a cleaner taste.
- Fresh herbs (like thyme or rosemary): Brings herbal brightness, sprinkle over before serving for freshness.
Tools & Equipment You’ll Need
- Roasting pan with rack: Supports the ham and allows heat to circulate evenly.
- Pastry brush: For applying the glaze smoothly and evenly.
- Sharp knife: For scoring the fat and carving the ham.
- Meat thermometer: Ensures the ham hits the perfect internal temp.
- Aluminum foil: To tent the ham if it starts to over-brown.
Step-by-step Guide to the Perfect Glazed Ham
Step 1: Preheat your oven to 160°C (320°F).
Step 2: Score the ham’s fat in a diamond pattern, about 1cm deep.
Step 3: Mix together orange juice, Dijon mustard, honey, and a splash of soy sauce.
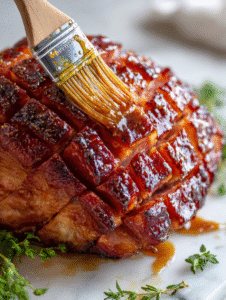
Step 4: Brush the glaze generously over the ham, ensuring all surfaces.
Step 5: Bake the ham uncovered for about 1.5 to 2 hours, basting every 30 minutes.
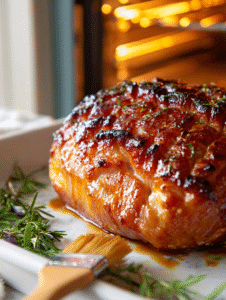
Step 6: In the last 20 minutes, increase oven temperature to 200°C (390°F) for a caramelized finish.
Step 7: Let rest for at least 15 minutes before carving. Resting helps juices redistribute.
Step 8: Serve with extra glaze drizzled over slices, preferably with roasted root vegetables.
Glazed Holiday Ham
Ingredients
Equipment
Method
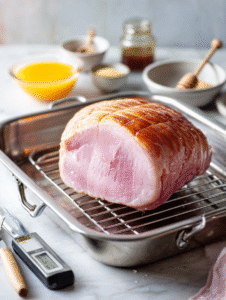
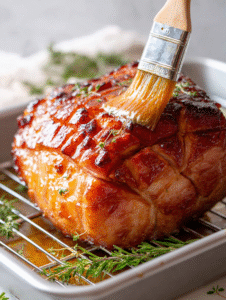
- Preheat your oven to 160°C (320°F). Place the ham on a roasting rack inside a large roasting pan.
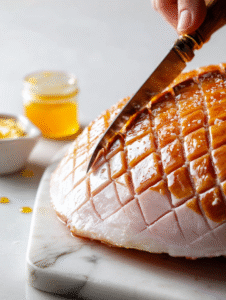
- Score the fat of the ham in a diamond pattern, about 1cm deep, creating a decorative surface that helps the glaze seep in.
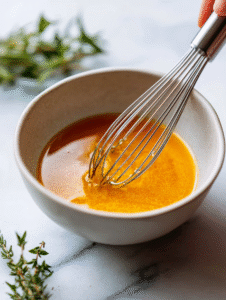
- In a small bowl, whisk together freshly squeezed orange juice, Dijon mustard, honey, and soy sauce until smooth and well combined.
- Brush the glaze generously over the scored surface of the ham, making sure to cover all the crevices and edges.
- Bake the ham uncovered for about 1.5 to 2 hours, basting with the glaze every 30 minutes and maintaining the oven temperature.
- Increase the oven temperature to 200°C (390°F) during the last 20 minutes to caramelize the glaze and achieve a glossy, golden-brown crust.
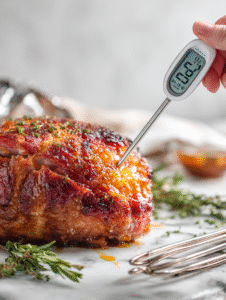
- Use a meat thermometer to check that the internal temperature reaches 140°F (60°C); once done, remove the ham from the oven and tent with aluminum foil.
- Let the ham rest for at least 15 minutes to allow juices to redistribute, which keeps the meat moist and flavorful.
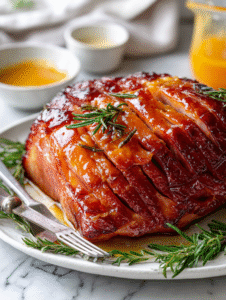
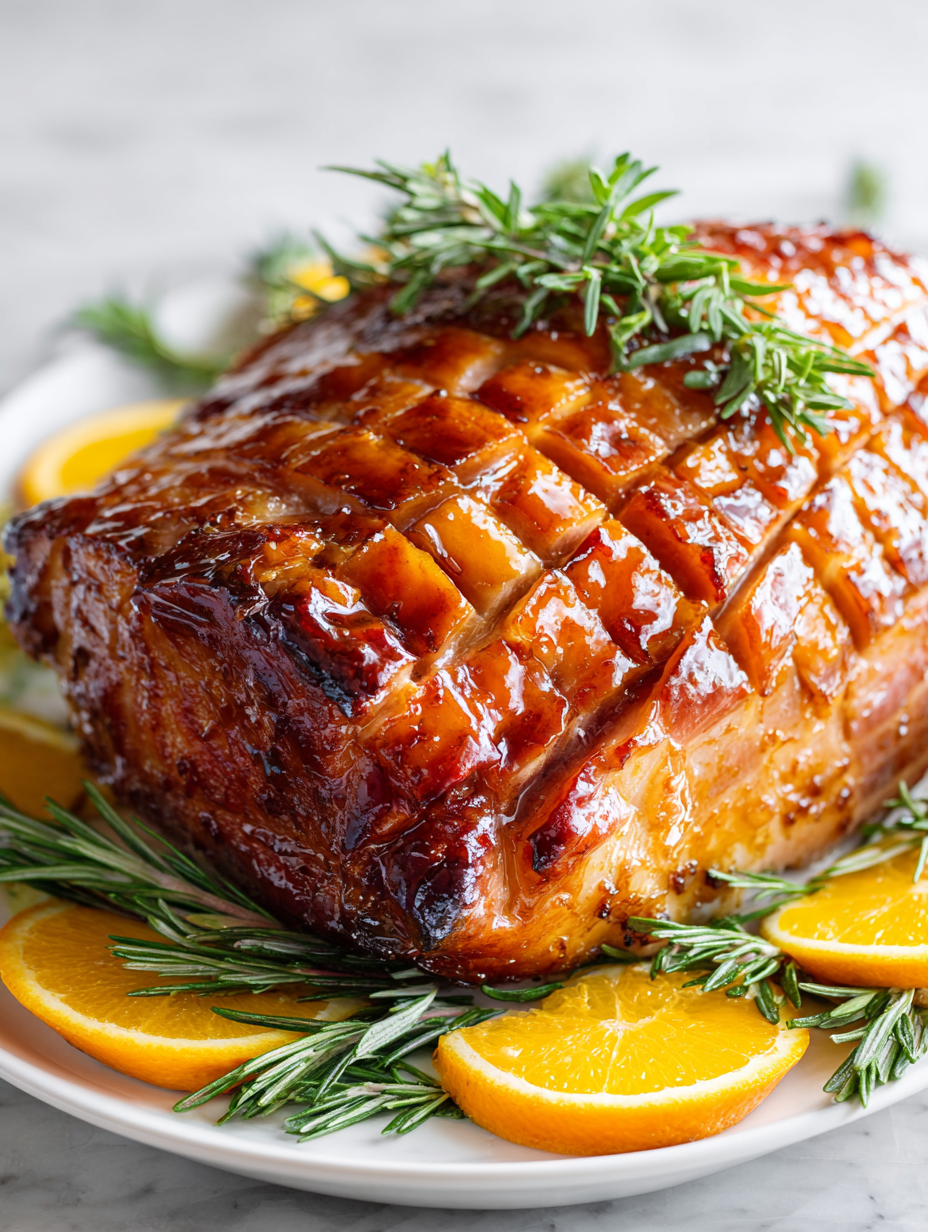
- Slice the ham into thick, juicy slices and arrange on a platter. Garnish with fresh herbs like thyme or rosemary for a burst of color and aroma.
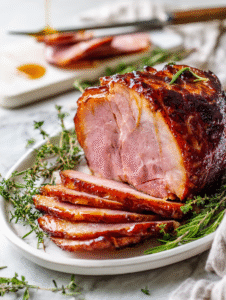
- Serve the ham slices with extra glaze drizzled over and your favorite sides, like roasted vegetables or mashed potatoes.

Notes
Cooking Checkpoints & Tips for Success
- Check the ham’s internal temperature; it should reach 60°C (140°F) for perfect juiciness.
- Look for a deep amber glaze that’s sticky and slightly caramelized.
- Listen for a gentle crackle of the glaze as it caramelizes in the oven.
- If the glaze burns, cover the ham loosely with foil and lower the oven temperature.
Common Mistakes & How to Fix Them
- Glaze burning before caramelization.? Brush the glaze on too early, causing burning. Fix: Wait until the last 30 minutes.
- Dry ham.? Overbaking, resulting in dry meat. Fix: Use a thermometer and remove at 60°C (140°F).
- Uneven glaze.? Not scoring the fat enough, leading to uneven caramelization.
- Lack of crispness.? Covering the ham too late, causing a soggy crust.
Wrapping up, this glaze is about balance—sweet, tangy, with a smoky depth that complements the richness of the ham. It’s a recipe that encourages improvisation—try adding a dash of brandy or swapping mandarin juice for orange. When you carve into that glossy, fragrant crust, you’ll feel the effort was worth it. Now, enjoy every tender, flavorful bite, and maybe start dreaming of next year’s twist.

Hey there, I’m Devon Harper. I run a small neighborhood café by day, cook most of my meals far too late at night, and write Midnight Grocery Runs somewhere in between. If you’ve ever wondered whether something simple could turn into something comforting after a long day, you’ll feel right at home here.


