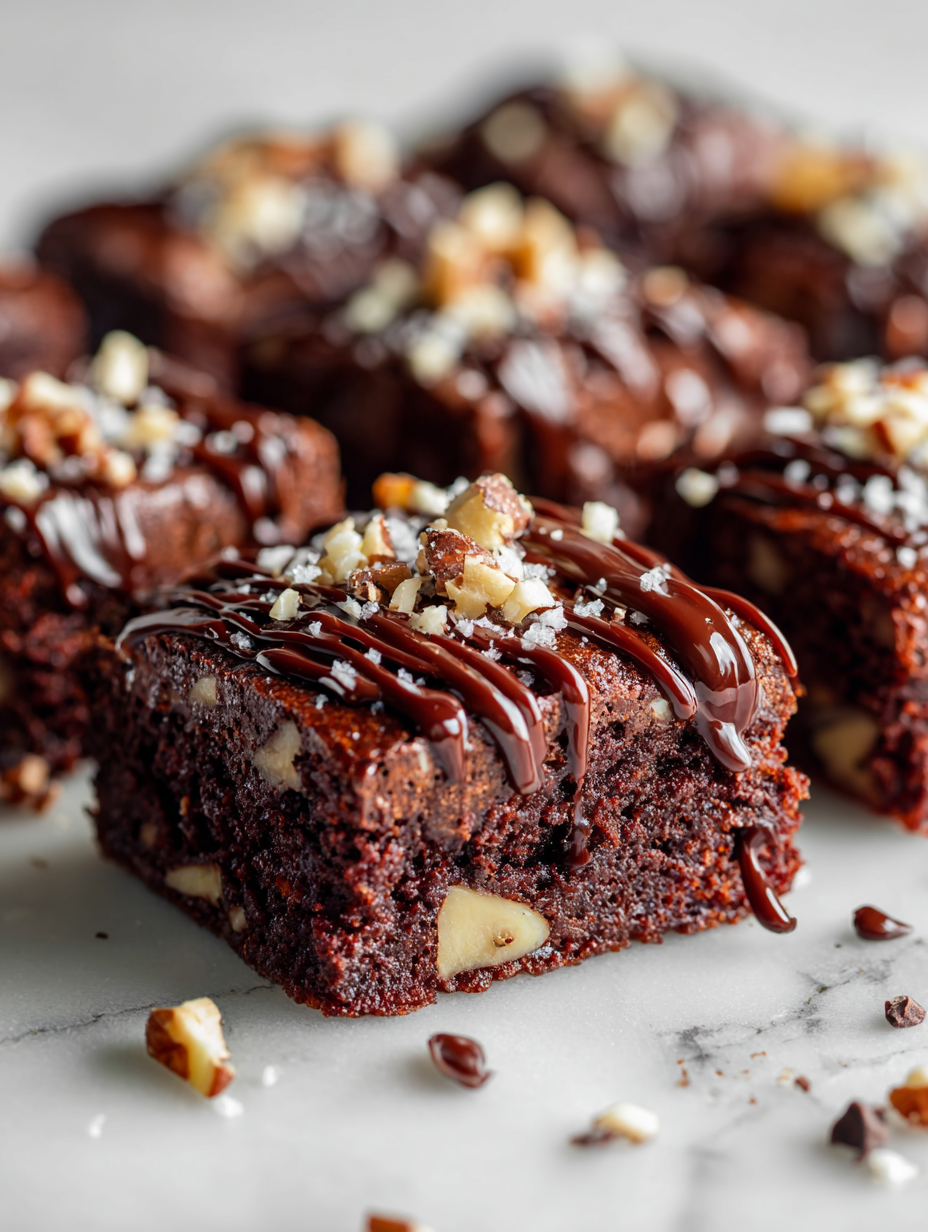
Brownie bars are my secret weapon for turning a simple dessert into a customizable, sensory-rich experience. Instead of sticking to plain chocolate, I love adding unexpected mix-ins like smoky sea salt or toasted coconut, which elevate each bite into something memorable. It’s a way to make a familiar treat feel fresh and personal, especially when sharing with friends or family who appreciate a little twist.
This recipe isn’t just about the end result; it’s about the process of experimenting with flavors and textures that surprise the palate. Every time I make these, I think about how a simple bar can become a canvas for creativity—crunchy, gooey, salty, sweet—all in one bite. It’s a little chaos, a little joy, and always satisfying.
Focusing on the unexpected joy of customizing brownie bars with unconventional mix-ins like smoked sea salt or toasted coconut, turning a familiar treat into a personalized, sensory adventure.
The story behind this recipe
- This recipe came together one rainy afternoon when I was digging through my pantry, hunting for something sweet but with a twist. I realized I had a bag of smoked sea salt that I hadn’t used much, and an idea sparked—what if I added it to brownie batter? That smoky saltiness somehow made the rich chocolate pop even more, and I knew I had to turn it into a proper recipe.
- Over the years, I’ve played with different mix-ins—crushed pretzels, toasted coconut, even bits of roasted coffee beans. Each addition brings a new layer of flavor or texture that keeps these bars interesting. It’s a little bit chaos, a lot of flavor, and a reminder that sometimes, the best ideas come from just messing around in the kitchen.
- heading
- story_type
Key ingredients and tips
- Unsweetened cocoa powder: I love that deep, slightly smoky aroma it gives off. If yours is dull, try sifting it for a lighter texture and richer flavor.
- Dark chocolate: I use 70% or higher for that intense, gooey melt. Swap with milk chocolate for a sweeter, milder experience—just watch the bake time.
- Butter: Creamy and rich, it’s the backbone of that fudgy texture. For a dairy-free version, coconut oil works but adds a subtle tropical note.
- Eggs: They hold everything together—think of them as the glue. If you’re out, a flaxseed meal substitute can work, but it’ll change the texture slightly.
- Sugar: I prefer a combo of brown and white for complexity. Using less can make it less sweet, but watch for a drier crumb if you cut back too much.
- Mix-ins: Think toasted coconut, smoked sea salt, or crunchy nuts. They add texture and surprise—don’t shy away from experimenting with your favorites.
- Flour: Regular all-purpose is my go-to, but almond flour can add richness if you want gluten-free. Adjust the bake time slightly for different textures.
Spotlight on key ingredients
Unsweetened cocoa powder:
- I love that deep, slightly smoky aroma it gives off. If yours is dull, try sifting it for a lighter texture and richer flavor.
- Dark chocolate: I use 70% or higher for that intense, gooey melt. Swap with milk chocolate for a sweeter, milder experience—just watch the bake time.
- Butter: Creamy and rich, it’s the backbone of that fudgy texture. For a dairy-free version, coconut oil works but adds a subtle tropical note.
Eggs and Sugar:
- Eggs: They hold everything together—think of them as the glue. If you’re out, a flaxseed meal substitute can work, but it’ll change the texture slightly.
- Sugar: I prefer a combo of brown and white for complexity. Using less can make it less sweet, but watch for a drier crumb if you cut back too much.
Notes for ingredient swaps
- Dairy-Free: Swap butter for coconut oil. It will add a subtle tropical flavor and may change the richness slightly.
- Vegan: Use vegan butter or margarine and flaxseed meal instead of eggs. Expect a slightly denser texture.
- Sugar Alternatives: Maple syrup or honey can replace white sugar for a more complex sweetness, but reduce other liquids slightly.
- Gluten-Free: Almond or oat flour can be substitutes for all-purpose flour, adding a nuttier flavor and different crumb.
- Dark Chocolate: Swap with milk chocolate for a sweeter, creamier melt—watch the bake time since it’s softer.
- Add-ins: Use roasted nuts, dried fruit, or even crushed candies to customize texture and flavor—think crunch or bursts of sweetness.
- Salt: Use Himalayan or sea salt instead of smoked sea salt for a different mineral note—less smoky, more mineral brightness.
Equipment & Tools
- 9-inch square baking pan: Holds the batter for baking evenly.
- Parchment paper: Eases removal and prevents sticking.
- Microwave-safe bowl: For melting butter quickly and evenly.
- Whisk: Combines dry ingredients and mixes eggs into the batter.
- Spatula: Spreads batter smoothly in the pan.
- Toothpick: Tests for doneness.
- Wire cooling rack: Allows excess heat to escape, cooling the bars evenly.
Step-by-step guide to brownie bars
- Preheat your oven to 175°C (350°F). Line a 9-inch square baking pan with parchment paper, leaving some overhang for easy removal.
- In a medium bowl, melt 115g (4 oz) of unsalted butter in the microwave or on the stove over gentle heat. Let it cool slightly.
- In a large mixing bowl, whisk together 1 cup (120g) of granulated sugar, 1/2 cup (50g) of cocoa powder, and a pinch of salt. Add the cooled melted butter and stir until combined.
- Crack in 2 large eggs, one at a time, mixing well after each addition. The batter should become glossy and thick.
- Stir in 1 teaspoon of vanilla extract for depth. Then, fold in 1/2 cup (60g) of all-purpose flour until just combined. Do not overmix.
- If adding mix-ins (like toasted coconut, smoked sea salt, or chopped nuts), fold them in now, about 1/2 cup worth.
- Pour the batter into your prepared pan, smoothing the top with a spatula. Tap the pan lightly on the counter to settle the batter evenly.
- Bake for 20-25 minutes. The edges will look set, and a toothpick inserted in the center should come out with moist crumbs but not wet batter.
- If you notice the top cracking or browning too quickly, tent with foil after 15 minutes to prevent over-browning.
- Remove from oven and let cool in the pan for at least 15 minutes. The brownie will firm up as it cools, making it easier to cut.
- Lift out the whole block using the parchment overhang. Let it rest on a wire rack for another 10 minutes before slicing into bars.
Let the bars cool completely in the pan on a wire rack. Once cooled, lift out using the parchment overhang. Slice into squares or rectangles and serve directly or store in an airtight container.
How to Know It’s Done
- Edges are firm and slightly crackled, center is set but still moist.
- A toothpick inserted in the center comes out with moist crumbs, not wet batter.
- The top has a matte, slightly cracked appearance, indicating doneness.
Customizable Brownie Bars
Ingredients
Equipment
Method
- Preheat your oven to 175°C (350°F). Line your baking pan with parchment paper, letting some overhang for easy removal.
- Melt the butter in a microwave-safe bowl, then let it cool slightly until it’s just warm and fragrant.
- In a large bowl, whisk together the sugar and sifted cocoa powder until they’re combined and slightly fragrant.
- Pour the warm melted butter into the dry mixture, stirring until smooth and glossy.
- Add the eggs one at a time, whisking vigorously after each to incorporate and create a shiny, thick batter.
- Stir in the vanilla extract, then gently fold in the flour until just combined, being careful not to overmix.
- Gently fold in your chosen mix-ins, spreading them evenly throughout the batter.
- Pour the batter into your prepared pan, spreading it out evenly with a spatula and tapping the pan lightly to settle the batter.
- Bake for 20-25 minutes, until the edges look firm and slightly cracked on top, and a toothpick inserted in the center comes out with moist crumbs.
- Once baked, remove from the oven and let cool in the pan for 15 minutes, then transfer to a wire rack to cool completely.
- After cooling, lift out the whole block of brownie using the parchment overhang, and slice into squares. Serve and enjoy the rich, fudgy texture with your personalized mix-ins.
Pro tips for perfect brownie bars
- Use high-quality cocoa powder for a richer, more intense chocolate flavor that shimmers in every bite.
- Slightly underbake—your brownie will stay gooey and fudgy inside, with a crackly top.
- Sift your dry ingredients together—this prevents lumps and ensures a smooth, even batter.
- Mix in your add-ins gently—overmixing can make the bars dense instead of tender and chewy.
- Let the brownies cool completely before slicing—this helps them set and prevents crumbling.
- For extra flavor, sprinkle flaky sea salt on top just after baking—contrast enhances the chocolate.
- Use a metal pan for even heat distribution—your bars will bake uniformly with a shiny, crackled crust.
Common mistakes and how to fix them
- FORGOT to check oven temperature → Use an oven thermometer for accuracy.
- DUMPED in too much flour → Sift or measure carefully to avoid dense bars.
- OVER-TORCHED the edges → Tent with foil if edges brown too quickly.
- UNDER-baked center → Extend baking time slightly or check with a toothpick.
Quick Fixes for Brownie Bars
- If batter is too thick, splash in a teaspoon of milk to loosen it up.
- When edges over-brown, shield with foil and extend baking time slightly.
- Splash a few drops of water if brownies are dry and crumbly after baking.
- Patch a cracked top by pressing down gently with a spatula and returning to oven for 2 minutes.
- Shield with foil if the top shimmer turns dull or the edges crackle too much.
Prep and storage tips
- Prepare the batter up to a day in advance; cover and refrigerate for a chilled, slightly firmer texture after baking.
- Brownie bars can be stored in an airtight container at room temperature for up to 3 days, keeping them fresh and chewy.
- For longer storage, wrap bars tightly in plastic wrap and freeze for up to 1 month; thaw at room temperature before serving.
- Reheat a single bar briefly in the microwave (about 10 seconds) until just warm and slightly gooey, releasing rich chocolate aroma.
Brownie Bars FAQs
1. How do I know when the brownie bars are done?
A brownie bar should be moist and fudgy, with a shiny, crackled top. It shouldn’t feel wet or overly dry when you press lightly on the surface.
2. What’s the perfect texture for brownie bars?
Use a toothpick inserted in the center; it should come out with moist crumbs, not wet batter. The edges will look set and slightly pull away from the pan.
3. Should I let the brownies cool before cutting?
Allow the bars to cool completely in the pan before slicing. This helps them set and prevents crumbling, giving you clean, neat squares.
4. How should I store brownie bars?
Storing in an airtight container at room temperature keeps them fresh for 2–3 days. For longer, freeze wrapped bars up to a month.
5. Why are my brownie bars too dense or dry?
If they turn out too dense, don’t overmix the batter or bake slightly less time. If overbaked, tent with foil to prevent excessive dryness.
6. Can I customize the flavor of brownie bars?
Use high-quality cocoa powder for depth of flavor. A dash of smoked sea salt enhances the chocolate’s richness and adds a surprising savory note.
7. Can I make these brownie bars dairy-free?
Yes, you can swap the butter for coconut oil for a dairy-free version. Expect a slightly softer texture and a hint of tropical aroma.
8. What mix-ins work best for brownie bars?
Adding toasted coconut or crunchy nuts gives texture contrast, while smoked sea salt heightens the chocolate’s smoky, complex flavor.
9. How do I avoid cracks on top?
To prevent cracking on top, avoid overbaking and let the brownies cool completely before slicing. Wrapping while still warm can cause condensation.
10. How can I fix the batter if it’s too thick?
If the batter feels too thick, splash in a teaspoon of milk to loosen it. For a glossier crust, brush with a little melted chocolate before baking.
Making these brownie bars is my little rebellion against the usual. They’re rich, slightly salty, and packed with unexpected crunch from toasted coconut or a sprinkle of smoked sea salt. It’s a simple treat that always sparks a moment of joy, whether shared or kept for myself.
And honestly, I find comfort in their imperfections—the cracked tops, the gooey centers. They remind me that good baking isn’t about perfection, but about those small, honest moments of flavor and texture that make each bite memorable.

Hey there, I’m Devon Harper. I run a small neighborhood café by day, cook most of my meals far too late at night, and write Midnight Grocery Runs somewhere in between. If you’ve ever wondered whether something simple could turn into something comforting after a long day, you’ll feel right at home here.


