Turning the warm, gooey goodness of apple crumble into portable bars feels like capturing a cozy moment in each bite. It’s the kind of treat that makes you nostalgic for fall afternoons, but also perfect for busy mornings when you need something comforting and handheld. I love how the sweet, spiced apple filling contrasts with the buttery, crisp topping—simple ingredients, but together they create a little piece of homemade magic.
What really drew me to this recipe was how it balances the chaos of peeling and chopping apples with the calm of mixing a crumble topping. It’s honest, unpolished cooking—no fuss, no fussiness. These bars are my go-to when I want a snack that feels indulgent but is still just honest, straightforward baking. Plus, they keep well enough to stash in the freezer for when unexpected guests or late-night cravings hit.
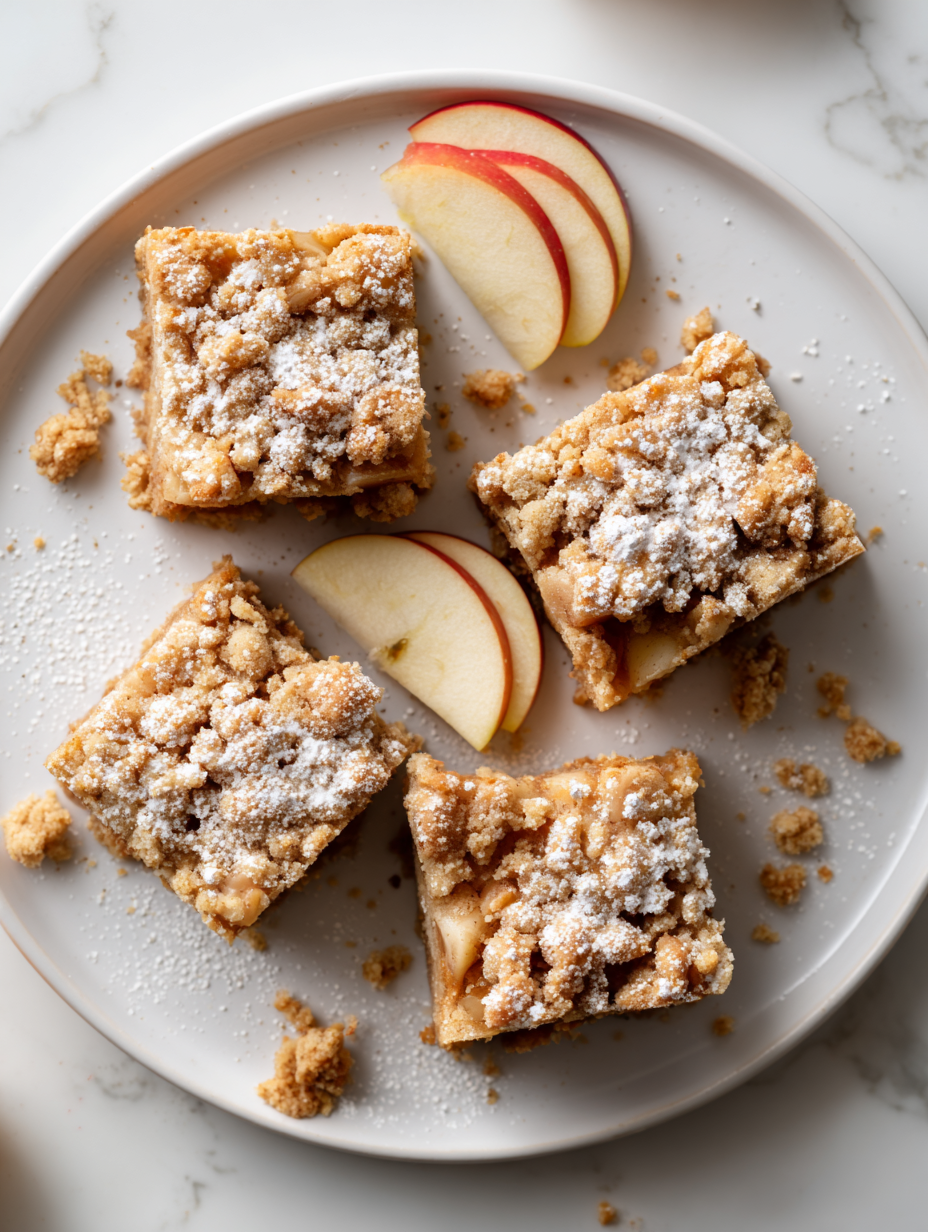
This recipe transforms the nostalgic comfort of apple crumble into portable, handheld bars, perfect for busy mornings or on-the-go snacks, blending homey warmth with convenience.
The story behind this recipe
- This recipe came from a lazy weekend afternoon when I had a handful of apples and a craving for something sweet yet portable. I wanted that warm crumble taste but in a form I could grab on my way out the door. It’s funny how a simple idea—turning a classic dessert into bars—can make the everyday feel a little more special.
- I remember the first batch I made, the smell of baked apples mingling with toasted oats filling the kitchen. It was one of those moments where I realized how much comfort a simple snack can bring, especially when you’re rushing around but still crave something homely. Since then, these bars have become my little fallback for busy mornings and unexpected guests.
- heading: The story behind this recipe
Ingredient breakdown: key components
- Flour: I use all-purpose because it gives a sturdy base, but you could try whole wheat for a nuttier flavor—just expect a denser bar.
- Apples: I favor tart Granny Smiths for a zing that balances sweetness, but honeycrisp can add a sweeter, juicier bite—adjust sugar if needed.
- Butter: Unsalted and cold, it creates that flaky crumble texture. Swap with coconut oil for a dairy-free version that still crisps up nicely.
- Brown sugar: I love the molasses depth it adds, but coconut sugar can work for a slightly caramelized flavor—just reduce a bit to prevent stickiness.
- Oats: Old-fashioned oats give a hearty crunch, but quick oats can be swapped in for a softer, less chewy topping—watch moisture levels.
- Spices: A dash of cinnamon and nutmeg makes the filling warm and inviting, but cardamom or ginger can add a spicy twist—use sparingly.
- Lemon juice: Brightens the apple filling with a zesty kick, and if you’re out, a splash of apple cider vinegar can mimic that tartness.
Spotlight on key ingredients
Apples:
- I use tart Granny Smiths for a zing that cuts through the sweetness, but Honeycrisp can add juiciness and a sweeter bite—adjust sugar accordingly.
- Butter: Cold, unsalted butter creates that flaky, tender crumble; swapping with coconut oil gives a dairy-free version that crisps up just as nicely.
Oats & Brown Sugar:
- Oats: Old-fashioned oats give a hearty crunch, but quick oats can be used for a softer topping—watch moisture levels to prevent sogginess.
- Brown sugar: It lends a deep molasses flavor, but coconut sugar can be a good alternative for a slightly caramelized note—reduce slightly to avoid stickiness.
Notes for ingredient swaps
- Dairy-Free: Swap butter for coconut oil or vegan margarine. Expect a slightly flakier, less rich crumble.
- Gluten-Free: Use almond flour or a gluten-free baking mix instead of all-purpose flour. Keeps the texture tender, but may be a bit denser.
- Sweetener: Replace brown sugar with maple syrup or honey. Adds a richer, more caramelized note, but reduces crispness.
- Apple Varieties: Use softer apples like Fuji or Gala for a sweeter, softer filling, or tart options like Granny Smith for a zing.
- Oats: Switch to gluten-free oats if needed. The topping will be less chewy but still a lovely crunch.
- Spice Blend: Substitute cinnamon and nutmeg with chai spice mix for a more complex, aromatic flavor.
- Lemon Juice: Use apple cider vinegar if lemon isn’t available. Keeps the filling bright, just less citrusy.
Equipment & Tools
- 9-inch square baking pan: To bake the bars evenly
- Parchment paper or non-stick spray: For easy removal and cleanup
- Peeler and corer: To prepare apples efficiently
- Mixing bowls: To combine filling and topping ingredients
- Pastry cutter or fingers: To create crumbly topping
- Oven: To bake the bars
Step-by-step guide to apple crumble bars
- Preheat your oven to 180°C (350°F). Grease a 9-inch square baking pan or line it with parchment paper for easy removal.
- For the apple filling, peel, core, and chop 3-4 medium tart apples into small, even pieces. Toss them with 1-2 tablespoons of lemon juice and 1/4 cup sugar. Set aside.
- In a medium bowl, combine 1 cup rolled oats, 1/2 cup all-purpose flour, 1/2 cup packed brown sugar, and a pinch of cinnamon. Add 1/2 cup cold unsalted butter, cut into small pieces. Use your fingers or a pastry cutter to mix until crumbly.
- Spread the apple mixture evenly in the prepared pan. Sprinkle the crumble topping over the apples, pressing lightly so it adheres.
- Bake in the preheated oven for 35-40 minutes, or until the topping is golden brown and the apples are bubbling around the edges. The top should be crisp and fragrant, with a slight crackle when you tap it.
- If the topping starts to over-brown before the apples are tender, cover loosely with foil and continue baking. If the apples are not bubbling, turn up the heat slightly for a few minutes, watching carefully.
- Remove from the oven and let cool in the pan for at least 20 minutes. The bars will set as they cool, making them easier to cut into clean squares.
- Slice into squares while still warm, or once cooled completely for neat edges. Serve with a dollop of whipped cream or a scoop of vanilla ice cream if desired.
Let the bars cool in the pan for 20 minutes to set. Then, slice into squares with a sharp knife. Serve warm or at room temperature, with optional toppings like whipped cream or ice cream.
How to Know It’s Done
- Golden brown topping with visible crisp edges.
- Apple filling is bubbling around the edges and tender when pierced.
- Bars hold their shape when sliced, not too gooey or crumbly.
Apple Crumble Bars
Ingredients
Equipment
Method
- Preheat your oven to 180°C (350°F) and line your baking pan with parchment paper or spray it with non-stick spray to prevent sticking.
- Peel, core, and chop the apples into small, even pieces. Toss them with lemon juice and sugar until well coated. Set aside to allow the flavors to meld and to keep the apples from browning.
- In a medium bowl, combine the rolled oats, flour, brown sugar, and cinnamon. Mix briefly to distribute the ingredients evenly.
- Add the cold, small pieces of butter to the dry mixture. Use your fingers or a pastry cutter to work the butter into the mixture until it resembles coarse crumbs—some larger flakes are fine; this creates that flaky, crisp topping.
- Spread the prepared apple mixture evenly in the lined baking pan, creating a uniform layer.
- Sprinkle the crumble topping over the apples, pressing gently to help it adhere and create an even layer on top.
- Bake in the preheated oven for about 35-40 minutes, or until the topping is golden brown and the apple filling is bubbling around the edges. The aroma of cinnamon and baked apples will fill your kitchen.
- Remove from the oven and allow the bars to cool in the pan for at least 20 minutes. This helps them set and makes slicing easier.
- Use a sharp knife to cut the cooled bars into squares. Serve warm or at room temperature, perhaps with a dollop of whipped cream or a scoop of vanilla ice cream.
- Enjoy your homemade apple crumble bars, savoring the tender apple filling and crisp, buttery topping in every bite!
Pro tips for perfect apple crumble bars
- Bolded mini-head: Use cold butter and mix quickly to keep the crumble crumbly, not greasy.
- Bolded mini-head: Slightly underbake the bars for a softer center—they firm up as they cool.
- Bolded mini-head: Sprinkle the topping evenly and press gently to prevent it from falling apart when cut.
- Bolded mini-head: Add a pinch of salt to the crumble for enhanced sweetness and depth of flavor.
- Bolded mini-head: Use a sharp knife when slicing warm bars to get clean, neat edges.
- Bolded mini-head: For extra crunch, toast the oats lightly before mixing into the crumble.
- Bolded mini-head: When apples are simmering, smell for a sweet, cinnamon-infused aroma—don’t wait until they boil over.
Common mistakes and how to fix them
- FORGOT to check oven temperature → calibrate oven regularly.
- DUMPED the filling early → ensure apples are tender and bubbling before removing.
- OVER-TORCHED topping → cover loosely with foil to prevent burning in the final minutes.
- MISSED mixing butter evenly → use fingers or pastry cutter for uniform crumble texture.
Quick fixes and pantry swaps
- When the topping is too crumbly, splash a teaspoon of cold water and knead gently to bind.
- If the apples release too much juice, sprinkle a bit of cornstarch and mix to thicken the filling.
- DUMPED the filling too hot? Shield with foil and let cool slightly before adding the crumble topping.
- Over-torched edges? Patch with a bit of foil mid-bake for even color and to prevent burning.
- Splash some lemon juice on apples to brighten flavor and prevent browning during prep.
Prep, store, and reheat tips
- You can prep the apple filling a day ahead; keep it covered in the fridge to preserve freshness and tartness.
- Assemble the crumble topping and store it in an airtight container at room temperature for up to 2 days, to keep it crisp when baked.
- These bars stay good for 3-4 days at room temperature in an airtight container, with the apple filling staying juicy and the topping retaining some crunch.
- Reheat slices in a 180°C (350°F) oven for about 10 minutes until warm and fragrant—aim for that crispy topping with soft, tender apples.
Top questions about apple crumble bars
1. How can I tell when the bars are done baking?
Look for bars that are golden on top and slightly crisp around the edges. The filling should be bubbling gently and tender when pierced with a toothpick.
2. What type of apples is best for these bars?
Use tart apples like Granny Smith for a nice zing, but Honeycrisp or Fuji work well if you prefer sweeter, juicier filling.
3. My topping is browning too fast, what should I do?
If the topping looks dark before the apples are tender, loosely cover with foil and continue baking to prevent burning.
4. How long can I store apple crumble bars?
Keep the bars in an airtight container at room temperature for up to 3 days. Reheat in a 180°C (350°F) oven for about 10 minutes for that fresh-baked feel.
5. Can I freeze the bars?
Yes, you can freeze baked bars for up to 2 months. Wrap tightly and reheat in the oven to restore crunch and warmth.
6. Can I make the crumble dairy-free or gluten-free?
Using cold butter in the crumble creates a flaky texture. If you want dairy-free, try coconut oil—expect a slightly different crunch.
7. How should I prepare the apples?
Peel and chop apples into small, even pieces for quick cooking. Toss with lemon juice to brighten flavor and prevent browning.
8. How can I add more texture to the topping?
For extra crunch, toast the oats lightly before mixing into the crumble topping. It enhances flavor and adds a toasty aroma.
9. How should I cut the bars without crumbling them?
Use a sharp knife to slice warm bars for clean edges. Let them cool for 20 minutes to set properly before cutting.
10. My filling is too runny, how do I fix it?
If the filling releases too much juice, sprinkle a teaspoon of cornstarch over apples to thicken as it bakes.
These apple crumble bars are more than just a treat; they’re a reminder of simple pleasures, wrapped in buttery, fruity warmth. The combination of tart apples and crisp topping makes them a constant in my kitchen, especially during the fall when apples are at their best.
Sharing these bars always sparks a little nostalgia, and I find comfort in how they bring a sense of home and memory into everyday moments. They’re imperfect, honest, and made for enjoying with others—or just for sneaking a quiet moment alone with a good cup of tea.

Hey there, I’m Devon Harper. I run a small neighborhood café by day, cook most of my meals far too late at night, and write Midnight Grocery Runs somewhere in between. If you’ve ever wondered whether something simple could turn into something comforting after a long day, you’ll feel right at home here.


