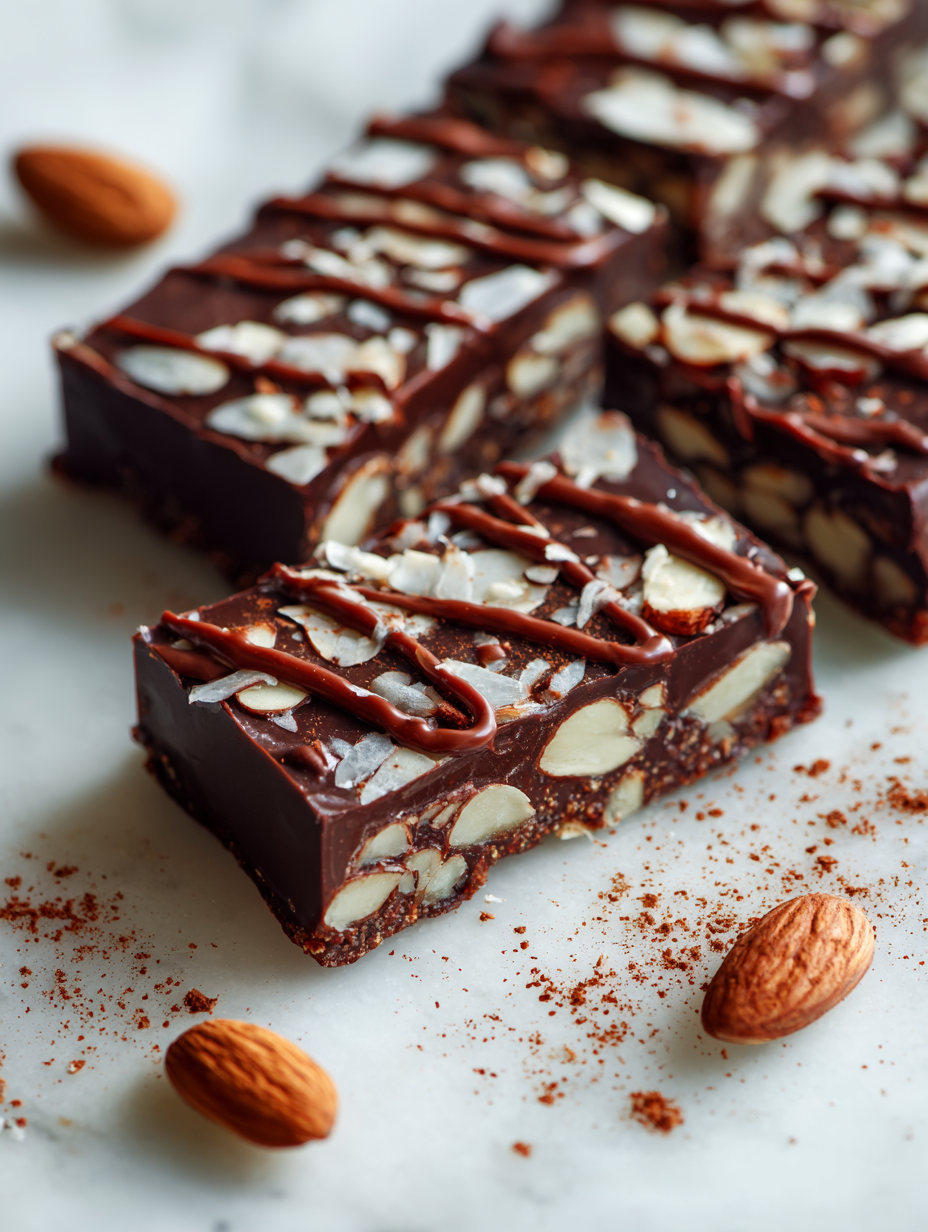
Chocolate almond bars are deceptively simple to make, but mastering the balance of crunchy nuts and smooth, bittersweet chocolate takes a bit of patience. I’ve always loved how the contrast in textures can surprise you—crisp bites giving way to melt-in-your-mouth richness. It’s a snack that feels fancy enough for company but easy enough to whip up on a lazy weekend afternoon.
This recipe is a nod to my childhood afternoons spent in the kitchen with my grandmother, who had a knack for turning everyday ingredients into something memorable. The way she toasted almonds till they were golden and fragrant, or how she drizzled that glossy chocolate with a confident flick of her wrist—those moments stuck with me. Now, I chase that same joy whenever I get the chance to make these bars.
Focusing on the overlooked art of balancing richness and crunch, this recipe emphasizes the importance of texture contrast in homemade chocolate almond bars, making each bite unexpectedly satisfying.
The story behind this recipe
- This recipe came about after a particularly chaotic holiday season, when I needed a treat that was both comforting and straightforward to throw together after a long day. The idea of combining roasted, honey-glazed almonds with rich, dark chocolate felt like capturing a moment of calm amid the holiday rush. The crunch of the almonds and the smooth melt of chocolate somehow make everything feel a little more manageable.
- I remember the first batch I made was in a tiny apartment kitchen, with a stray almond rolling off the counter and a messy drizzle of chocolate that looked more rustic than perfect. But that imperfect batch had a charm all its own — it was honest, a little chaotic, and utterly satisfying. Now, I keep coming back to this recipe whenever I want a quick, honest sweet that hits all the right notes.
- heading
- The story behind this recipe
Key Ingredients Breakdown
- Dark chocolate: I prefer a high cacao percentage, around 70%, for that deep, smoky flavor. If you like it sweeter, go lower, but don’t skimp on richness.
- Almonds: Toast them until golden and fragrant—this boosts flavor and adds crunch. Skip the roasting if you’re pressed for time, but the bars will be less toasty.
- Honey: A drizzle of honey helps bind the nuts and adds a subtle floral sweetness. If you want a more neutral flavor, a touch of maple syrup works, but it’s not quite the same.
- Butter: I use unsalted butter for a cleaner chocolate flavor. For a dairy-free version, coconut oil adds a mild coconut aroma and a softer texture.
- Sea salt: Just a pinch on top enhances the chocolate and nuts. If you’re into sweeter bars, skip or reduce the salt, but a little salt really makes the flavors pop.
- Vanilla extract: A splash deepens the chocolate’s richness. Skip it if you want a more straightforward, less layered flavor—though I think it’s worth the extra step.
- Optional add-ins: Dried cherries or toasted coconut flakes can give a surprising twist. Add these before the chocolate sets for even distribution.
Spotlight on key ingredients
Dark chocolate:
- I prefer a high cacao percentage, around 70%, for that deep, smoky flavor. If you like it sweeter, go lower, but don’t skimp on richness.
- Almonds: Toast them until golden and fragrant—this boosts flavor and adds crunch. Skip the roasting if you’re pressed for time, but the bars will be less toasty.
- Honey: A drizzle of honey helps bind the nuts and adds a subtle floral sweetness. If you want a more neutral flavor, a touch of maple syrup works, but it’s not quite the same.
Almonds:
- When toasted, they become irresistibly fragrant and crunchy, with a slight nutty sweetness that intensifies during roasting.
- Chocolate: Melts into a glossy, smooth pool that’s rich and deep; it cracks crisply when fully set, signaling it’s ready to cut.
- Honey: Adds a sticky, sweet sheen to the nuts and helps them cling to the chocolate; it also softens slightly when heated, releasing a floral aroma.
Notes for ingredient swaps
- Dairy-Free: Swap butter for coconut oil for a subtler coconut aroma and softer texture, but expect a slightly different mouthfeel.
- Sweetener: Use maple syrup instead of honey for a more neutral sweetness, though it may alter the depth of flavor slightly.
- Chocolate: Opt for milk chocolate if you prefer a creamier, sweeter bar, but it will reduce the richness and intensity.
- Nuts: Substitute walnuts or pecans for almonds to change the crunch and flavor profile, keeping the texture satisfying.
- Add-ins: Incorporate dried cherries or toasted coconut flakes before setting for a surprise burst of flavor and texture.
- Salt: Use Himalayan pink salt or smoked sea salt for a different savory note that enhances the chocolate and nuts.
- Flavor Enhancer: Add a dash of espresso powder to intensify the chocolate’s depth or skip for a milder taste.
Equipment & Tools
- Baking dish: Holds the mixture and shapes the bars.
- Saucepan: For melting chocolate gently and evenly.
- Spatula: To spread and smooth the melted chocolate.
- Knife: For cutting the set bars into portions.
- Parchment paper: Prevents sticking and makes removal easier.
Step-by-step guide to chocolate almond bars
- Equipment & Tools: Line a 20x20cm (8×8 inch) baking dish with parchment paper, a saucepan for melting, a spatula, a knife, and a heatproof bowl.
- Toast almonds: Spread almonds on a baking sheet, bake at 180°C (356°F) for 8-10 minutes until golden and fragrant. Cool completely.
- Melt chocolate: Break chocolate into pieces, melt in a heatproof bowl over a saucepan of simmering water (bain-marie) on low heat, stirring until smooth. Keep warm but not hot.
- Prepare nut mixture: Coarsely chop toasted almonds. In a bowl, mix almonds with a tablespoon of honey and a pinch of sea salt.
- Combine and press: Pour melted chocolate into the prepared dish. Spread evenly with a spatula. Distribute the almond mixture over the chocolate, pressing gently to embed.
- Chill: Transfer to the fridge. Let set for at least 2 hours or until firm and shiny. If the chocolate cracks when cutting, it’s ready.
- Slice: Remove from fridge. Use a sharp knife to cut into bars or squares. Wipe the knife clean between cuts for clean edges.
- Resting & Finishing: Let the bars sit at room temperature for 5-10 minutes before serving to soften slightly. Drizzle with extra melted chocolate if desired.
- Checkpoints & How to Know It’s Done: Chocolate is glossy and firm; nuts are toasted and fragrant; edges are clean and set when pressed.
Allow the bars to sit at room temperature for 5-10 minutes before serving. For cleaner cuts, refrigerate for an additional 30 minutes if needed. Serve directly from the fridge or at room temp for a softer bite.
How to Know It’s Done
- Chocolate is shiny and firm but not brittle when pressed gently.
- Nuts are toasted and fragrant, not raw or burnt.
- Bars hold shape without sticking to the knife.
Chocolate Almond Bars
Ingredients
Equipment
Method
- Line your baking dish with parchment paper, leaving some overhang for easy removal.
- Spread the almonds on a baking sheet and toast in a preheated 180°C oven for about 8-10 minutes until fragrant and golden. Keep an eye on them so they don’t burn.
- Once toasted, transfer the almonds to a bowl and let them cool completely. Coarsely chop if you prefer smaller bites.
- Set up a double boiler by placing a heatproof bowl over a saucepan of gently simmering water. Add the chopped chocolate and the butter to the bowl.
- Stir constantly with a spatula until the chocolate and butter melt into a smooth, glossy mixture. Remove from heat once fully melted and combined.
- Mix the honey and vanilla extract into the melted chocolate, stirring well to incorporate all flavors.
- Pour the melted chocolate mixture into your prepared dish, spreading it evenly with a spatula to create a smooth layer.
- Sprinkle the toasted almonds evenly over the surface of the chocolate, pressing them gently into the mixture so they adhere well.
- Sprinkle a pinch of sea salt on top for enhanced flavor contrast.
- Transfer the dish to the refrigerator and chill for at least 2 hours until the chocolate is firm and glossy.
- Once set, lift the chocolate block out of the dish using the parchment overhang and place on a cutting board.
- Use a sharp knife to cut into bars or squares, wiping the blade clean between cuts for neat edges. Serve immediately or store in an airtight container.
Notes
Pro Tips for Perfect Bars
- flavor: Toast almonds until fragrant and golden—this intensifies their nutty aroma and adds crunch.
- Silky melt: Stir the chocolate constantly while melting to prevent seizing and ensure a glossy finish.
- Perfect crackle: Chill the bars completely; a firm, shiny surface indicates readiness for cutting.
- Even layer: Use the back of a spatula to spread the chocolate smoothly, avoiding air bubbles and uneven edges.
- Flavor bloom: Add a pinch of sea salt on top before chilling—this enhances the chocolate and nut contrast.
- Avoid moisture: Keep ingredients dry; excess moisture causes chocolate to seize or bars to become sticky.
- Sharp cuts: Wipe your knife clean between slices for clean, crisp edges and a professional look.
Common mistakes and how to fix them
- FORGOT to preheat oven → Always preheat to ensure even toasting and baking.
- DUMPED chocolate into hot pan → Let melted chocolate cool slightly before mixing to prevent seizing.
- OVER-TORCHED almonds → Toast almonds until fragrant and golden, not burnt; smell is your guide.
- MISSED stirring during melting → Stir constantly to prevent chocolate from burning or seizing.
Quick Fixes and Pantry Swaps
- When chocolate seizes, splash in a few drops of vegetable oil to smooth it out.
- If nuts are too soft, patch by toasting them longer for added crunch.
- Over-torched almonds? Shield with a sprinkle of salt and start again.
- Dumped chocolate too hot? Rescue with a sprinkle of sea salt and quick stirring.
- When the bars crack when cutting, refrigerate for 30 minutes to firm up.
Prep, store, and reheat tips
- Prepare the nut mixture and toast almonds ahead of time; store in an airtight container for up to 2 days for extra crunch and aroma.
- The bars can be made up to 3 days in advance; keep them wrapped tightly in parchment and stored at room temperature for optimal freshness.
- For longer storage, freeze the uncut bars wrapped well in plastic wrap and foil; they stay good for up to 1 month, and thaw at room temperature before slicing.
- Reheat slices briefly in a warm oven (around 150°C/300°F) for 3-5 minutes if you want the chocolate to soften slightly and intensify the aroma, watching for a glossy shine.
- The flavor develops over time as the chocolate melds with the almonds; for best taste, serve within 2-3 days of making, but bars remain tasty up to a week if stored properly.
Questions About Chocolate Almond Bars
1. What kind of chocolate should I use?
Use high-quality dark chocolate with at least 70% cacao for a rich, smoky flavor. Cheaper chocolates can taste dull and waxy.
2. How do I toast almonds properly?
Toast almonds until they smell fragrant and turn golden, about 8-10 minutes at 180°C (356°F). They become crunchier and more fragrant.
3. How do I melt chocolate without burning it?
Once melted, stir the chocolate consistently to prevent it from seizing or burning. Use a gentle heat and patience.
4. How do I know when the bars are ready to cut?
Chill the bars until the chocolate is glossy and firm, about 2 hours in the fridge. They should snap when you cut into them.
5. Can I substitute honey in the recipe?
You can replace honey with maple syrup for a different floral note. It will slightly alter the flavor but keep the binding effect.
6. How should I store these bars?
Store the bars at room temperature in an airtight container for up to 3 days, or freeze for longer storage. Reheat briefly for softer texture.
7. My bars cracked when I cut them. What now?
If the chocolate cracks when cutting, refrigerate the bars for 30 minutes to firm up the chocolate before slicing again.
8. How can I get clean cuts on the bars?
Use a sharp, warm knife to make clean cuts. Wipe the blade between slices for the smoothest edges.
9. Should I add salt? When and how?
Add a pinch of sea salt on top before chilling. It enhances the chocolate’s depth and makes the flavors pop.
10. Can I add extras like dried fruit or coconut?
For a more intense almond flavor, sprinkle toasted almonds on top just before the chocolate sets, pressing lightly into the surface.
These chocolate almond bars are more than just a treat; they’re a reminder that simple ingredients can create something genuinely satisfying. Each bite offers a satisfying crunch followed by that deep, bittersweet chocolate richness, with a hint of toasted almond aroma lingering on your palate.
In a busy moment or a quiet weekend, they’re quick to whip up and even better to share. No matter how many times I make them, I still get a little thrill watching that glossy chocolate set and knowing I’ve made something truly honest. It’s a small pleasure that keeps drawing me back, again and again.

Hey there, I’m Devon Harper. I run a small neighborhood café by day, cook most of my meals far too late at night, and write Midnight Grocery Runs somewhere in between. If you’ve ever wondered whether something simple could turn into something comforting after a long day, you’ll feel right at home here.


