I’ve always believed that the secret to the perfect chocolate chip cookie isn’t just the ingredients, but how you treat them. Slightly underbaking these cookies gives them that irresistibly chewy, gooey center that stays soft for days, no matter how many you sneak before dinner. It’s a small tweak that makes a big difference, especially when you want that melt-in-your-mouth bite.
Baking these cookies feels like a little act of rebellion—kind of like catching a moment of pure joy right out of the oven. The warm smell of butter, vanilla, and melting chocolate fills the kitchen and somehow makes everything feel a little more manageable. Once you get the hang of that perfect timing, you’ll be sneaking bites straight from the pan, no regrets.
Focusing on the importance of slightly underbaking the cookies for a chewy, gooey center that stays soft for days.
The story behind this recipe
- This recipe was born out of late nights spent rummaging through my grandma’s old recipe box, looking for something comforting. I remember the smell of melting chocolate and caramelized butter wafting through her kitchen, making everything feel safe and familiar. That warmth stuck with me, and I wanted to recreate that feeling with my own twist.
- I’ve played around with different flours, chocolates, and baking times, but it’s always the underbaked cookies that steal my heart. There’s something about that slightly gooey center that feels like a little secret I’m letting you in on. Baking these is my way of holding onto those quiet, cherished moments of simple joy—no fuss, just honest, good cookies.
- heading: The story behind this recipe
Ingredient breakdown
- Butter: I use unsalted butter, and the smell of melting butter turning golden always signals it’s time to add sugar. For a richer flavor, try browning the butter slightly; it adds a nutty depth.
- Chocolate Chips: I prefer semi-sweet, but feel free to mix dark or milk for a different sweetness. When they melt slightly into the dough, it’s pure comfort—don’t skimp on quality here.
- Brown Sugar: I love the molasses hint it brings, making the cookies deeply caramelized. If you only have white sugar, add a tablespoon of molasses for that rich, sticky chew.
- Flour: All-purpose works best, but if you want a slightly cakier cookie, try bread flour. For a lighter bite, substitute part of the flour with oat flour—just a pinch.
- Vanilla Extract: I always reach for pure vanilla; it amplifies everything. If you’re out, a splash of vanilla bean paste can add a more intense, aromatic flavor.
- Eggs: I use large eggs, but for an extra chewy cookie, try adding an extra yolk—adds richness and helps keep the center moist.
- Baking Soda: It’s the magic that helps the cookies spread just right. If you want thicker cookies, reduce the baking soda slightly, but don’t skip it—it’s crucial for rise.
Spotlight on key ingredients
Chocolate Chips:
- I love semi-sweet, the way they ooze slightly when warm, adding that perfect melty bite. Feel free to mix dark or milk for variety.
- When baking, they soften and spread into the dough, creating pockets of gooey richness. Quality really matters here—better chips melt better and taste richer.
Butter:
- I use unsalted, and when it melts, it releases a warm, inviting aroma that signals it’s time to add sugar. Browning the butter adds a nutty note that deepens flavor.
- During baking, it helps create that tender, chewy texture. If you want extra richness, try using browned butter for a slightly smoky, caramelized scent.
Notes for ingredient swaps
- Dairy-Free: Swap butter for coconut oil or dairy-free margarine. Expect a slightly different richness and a softer texture.
- Sugar Variations: Use honey or maple syrup instead of white or brown sugar. Cookies may spread more and have a distinct flavor note.
- Flour: Whole wheat or spelt flour can replace all-purpose, adding nuttiness and a denser crumb. Expect a slightly chewier cookie.
- Chocolate: Try chopped dark chocolate, milk chocolate chips, or even white chocolate. Each brings a unique sweetness and melt profile.
- Eggs: Egg replacers like flaxseed meal or applesauce work, but cookies might be less chewy and slightly more crumbly.
- Add-ins: Incorporate nuts, dried fruit, or even a dash of cinnamon. These extras add texture and flavor complexity.
- Salt: A pinch more or less can emphasize or mellow the chocolate flavor. Sea salt flakes on top make a nice finishing touch.
Equipment & Tools
- Large mixing bowl: To combine ingredients thoroughly
- Spatula: To fold ingredients and scrape the bowl
- Baking sheet: To bake the cookies evenly
- Parchment paper: To prevent sticking and facilitate cleanup
- Oven: To bake the cookies at a controlled temperature
Step-by-step guide to cookies
- Gather your equipment: a large mixing bowl, a sturdy spatula, a baking sheet, and parchment paper. Preheat your oven to 180°C (350°F).
- In the bowl, cream together 1 cup unsalted butter (softened) and 1 cup brown sugar for about 3-4 minutes until it’s fluffy and slightly paler. Smell that sweet, caramel aroma.
- Add 1 large egg and 1 teaspoon vanilla extract. Mix until fully incorporated—your dough should look shiny and slightly loosened.
- In a separate bowl, whisk together 2 cups all-purpose flour, ½ teaspoon baking soda, and a pinch of salt. Gradually add this to the wet mixture, folding gently.
- When the dough comes together, gently fold in 1 to 1½ cups chocolate chips. The dough should be thick but soft—don’t overmix.
- Scoop spoonfuls of dough onto the prepared baking sheet, leaving about 5cm (2 inches) between each. Slightly flatten each ball with the back of a spoon.
- Bake for 10-12 minutes. Watch for the edges to turn golden and the centers to look slightly underbaked—this keeps them chewy.
- Once out of the oven, let the cookies sit on the baking sheet for 5 minutes. They will firm up slightly but stay soft in the middle.
- Transfer to a wire rack to cool completely or enjoy warm—just be careful, they’re fragile right after baking.
- For best texture, eat within 2-3 days, but they stay soft and gooey if stored in an airtight container at room temperature.
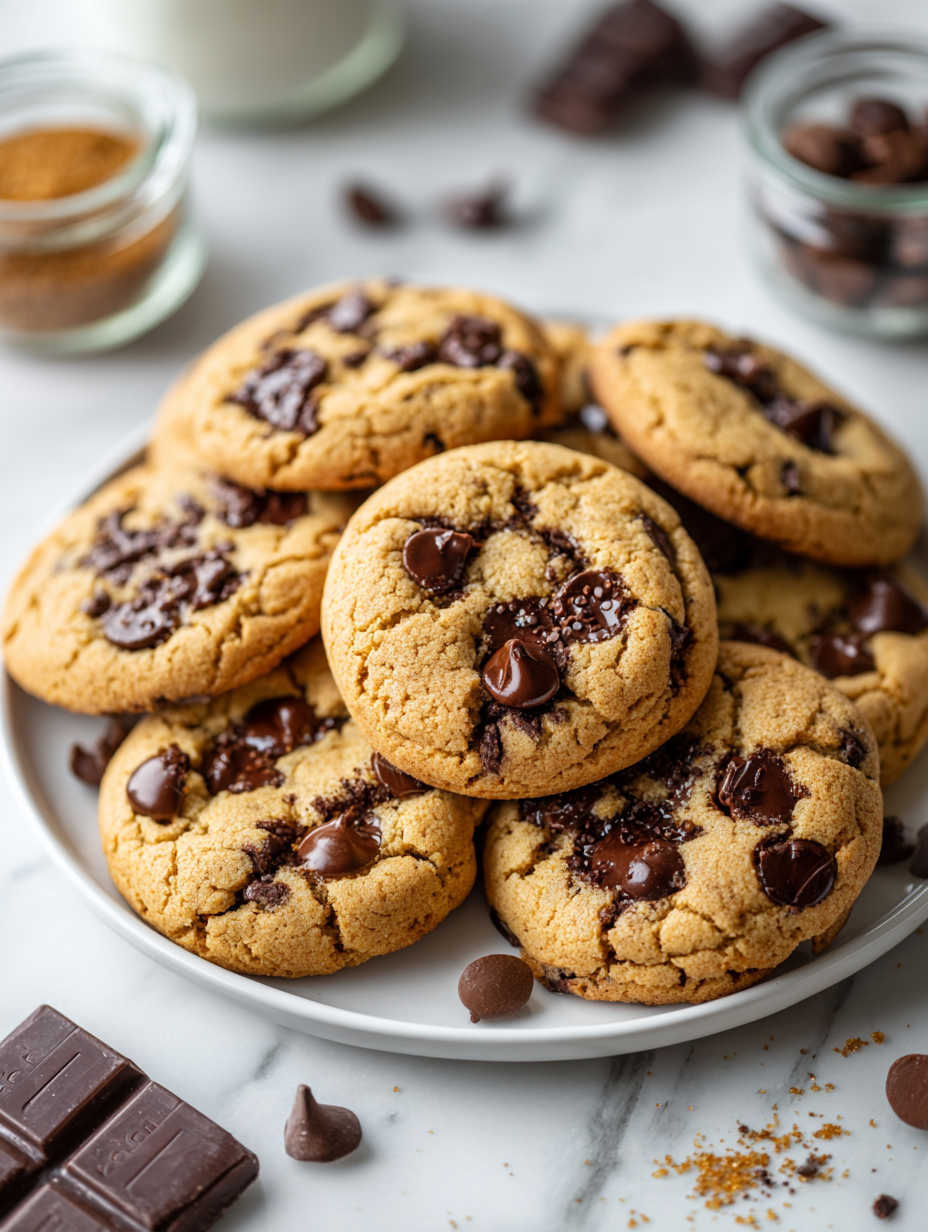
Allow the cookies to cool on the rack for 5 minutes before serving. For maximum gooeyness, enjoy while still warm, or let cool completely for a chewier texture. Serve on a plate or directly from the tray with a glass of milk.
How to Know It’s Done
- Edges are golden and slightly crisp, centers look soft and glossy.
- Cookie edges crackle when touched, with a slight jiggle in the middle.
- Chocolate melts into the dough, giving a oozy, shiny appearance.
Chewy Gooey Chocolate Chip Cookies
Ingredients
Equipment
Method
- Preheat your oven to 180°C (350°F) and line a baking sheet with parchment paper.
- In a large bowl, beat the softened butter and brown sugar together with a spatula or mixer for about 3 minutes until the mixture is fluffy and smells sweet and caramel-like.
- Add the egg and vanilla extract to the butter mixture, and stir until fully combined; the mixture should look shiny and smooth.
- In a separate bowl, whisk together the flour and baking soda, then gradually fold this dry mixture into the wet ingredients until just combined. The dough will be thick and slightly sticky.
- Gently fold in the chocolate chips, distributing them evenly throughout the dough without overmixing, so the chips stay intact.
- Scoop spoonfuls of dough onto the prepared baking sheet, leaving about 2 inches between each, then slightly flatten each mound with the back of your spoon.
- Bake for 10-12 minutes, watching for the edges to turn a light golden brown while the centers look slightly underbaked and glossy—that’s the secret to chewy cookies.
- Once out of the oven, allow the cookies to sit on the baking sheet for about 5 minutes; they will firm up slightly but remain soft and gooey in the center.
- Transfer the cookies to a wire rack to cool completely or enjoy warm for an extra gooey bite.
- Serve with a glass of milk or your favorite beverage and savor the melt-in-your-mouth texture of these perfectly chewy cookies.
Pro tips for perfect cookies
- Bolded Mini-Head: Chill dough briefly → Cold dough prevents excessive spreading, keeping cookies thick and chewy.
- Bolded Mini-Head: Use fresh baking soda → Freshness ensures proper leavening, giving cookies a nice rise.
- Bolded Mini-Head: Slightly underbake → Pull cookies out just before edges turn golden for that perfect gooey center.
- Bolded Mini-Head: Rotate tray halfway → Even baking and consistent texture, especially if oven hot spots exist.
- Bolded Mini-Head: Add a pinch of sea salt → Enhances chocolate flavor and balances sweetness with a subtle crunch.
- Bolded Mini-Head: Mix chocolate chips gently → Avoid overmixing to keep chips intact and pockets of melt-in-your-mouth chocolate.
- Bolded Mini-Head: Rest cookies briefly → Letting them sit 5 minutes on the tray helps set the structure and prevents breakage.
Common mistakes and how to fix them
- FORGOT to check oven temperature → Use an oven thermometer for accuracy.
- DUMPED too much flour → Lightly spoon flour into measuring cup, avoid packing.
- OVER-TORCHED cookies → Lower oven temp slightly or reduce baking time.
- MISSED the resting step → Let cookies rest 5 minutes on sheet for better texture.
Quick fixes and pantry swaps
- When cookies flatten too much → Chill dough before baking to keep shape.
- If cookies are too dry → Splash a tiny bit of milk into the dough, then gently fold.
- DUMPED too many chocolate chips → Patch with a few more dough scoops on top for even distribution.
- Over-torched bottoms → Shield with a foil tent or lower oven temperature slightly.
- Splash a pinch of sea salt on top → Enhances chocolate and adds a shiny finish.
Prep, store, and reheat tips
- You can prepare the cookie dough up to 24 hours ahead; keep it covered in the fridge for a fresh, just-baked taste.
- Baked cookies stay soft and chewy in an airtight container at room temperature for 2-3 days, with minimal flavor change.
- For longer storage, freeze baked cookies for up to 1 month; reheat directly from the freezer by warming in a 150°C (300°F) oven for 5 minutes until fragrant.
- Reheating warm cookies enhances the gooey texture and intensifies the chocolate aroma—perfect for that just-out-of-the-oven feel.
- Chilled cookie dough can be portioned and baked straight from the fridge, producing cookies with a slightly thicker, chewier center.
Top questions about chocolate chip cookies
1. Can I use melted butter instead of softened?
Yes, using melted butter instead of softened can make the dough spread too much, resulting in flatter cookies. For best texture, stick to softened butter and cream it properly with sugar until light and fluffy.
2. Should I chill the cookie dough?
Chilling the dough for at least 30 minutes helps develop flavors and prevents spreading. If you’re in a rush, even 15 minutes in the freezer can make a difference.
3. Why are my cookies too crispy?
If cookies turn out too crispy, try reducing the baking time by a minute or two, or slightly lower the oven temperature. For chewier cookies, bake a bit less and don’t overbake.
4. Can I use different chocolate types?
Using high-quality chocolate chips makes a noticeable difference. They melt better and taste richer. Don’t skimp—look for chips with a good cocoa percentage and shiny appearance.
5. How do I get chewy cookies?
If you prefer softer cookies, slightly underbake them, removing from the oven when edges are golden but centers look still a little shiny. They will firm up as they cool.
6. Can I make these gluten-free?
Yes, substituting part of the flour with oat or almond flour adds flavor and texture. Keep in mind it may slightly alter the cookie’s chewiness and rise.
7. How do I prevent overbaking?
Overbaking makes cookies too hard and dry. Keep a close eye on the edges—they should be golden, but the centers still look a bit underdone when you take them out.
8. Should I add salt on top?
Adding a pinch of sea salt on top of the cookies before baking enhances the chocolate flavor and adds a nice crunch. It’s a simple way to elevate the taste.
9. How do I store leftover cookies?
Cookies stored in an airtight container at room temperature stay soft and chewy for 2-3 days. For longer storage, freeze them; reheat in a warm oven for a few minutes to revive freshness.
10. My cookies spread too much, what now?
If your cookies spread too much, try reducing the baking soda slightly or chilling the dough longer. Using parchment paper also helps prevent excessive spreading.
Baking these cookies feels like a quiet moment of joy—simple, honest, and deeply comforting. The smell of melting chocolate and toasted butter always pulls me back to my childhood kitchens, reminding me why I love baking so much.
No matter how many batches I make, I keep coming back to this recipe because it’s reliable in delivering that perfect chewy center and crispy edges. Sometimes, it’s the small details—like underbaking slightly—that make all the difference in creating something truly special.

Hey there, I’m Devon Harper. I run a small neighborhood café by day, cook most of my meals far too late at night, and write Midnight Grocery Runs somewhere in between. If you’ve ever wondered whether something simple could turn into something comforting after a long day, you’ll feel right at home here.


