Finding a way to make coconut cookies nut-free without losing that rich, tropical burst of flavor has been a bit of a quest in my kitchen. I love the chewy, slightly crispy texture, but I also want everyone around the table to enjoy them, no matter their allergies. So I started experimenting with different ingredients, aiming for the same lush, coconut aroma and satisfying bite.
These cookies are a reminder that allergy-friendly baking doesn’t mean sacrificing taste or texture. It’s all about tweaking and testing, swapping some ingredients here and there, and still ending up with something I actually want to eat myself. They’re perfect for sharing with friends who have nut allergies or just for keeping the coconut flavor front and center, without any worries.
Focusing on how to adapt coconut cookies for those with nut allergies, exploring alternative ingredients without losing that lush, tropical flavor.
The story behind this recipe
- This recipe sprouted from a lazy afternoon craving, when I rummaged through my pantry and found a half-open bag of shredded coconut. The smell of toasted coconut always takes me back—those sunny beach days and warm breezes. I figured, why not turn that into something sweet and chewy, a little piece of sunshine in cookie form?
- My first batch was a bit too dense, but I loved that deep coconut flavor. Over time, I tweaked the fat content and added a touch of vanilla, chasing that perfect balance of chewiness and crisp edges. Now, these cookies remind me that simple ingredients can create a little tropical escape, even in the middle of a busy week.
- heading: The story behind this recipe
Ingredient breakdown
- Shredded coconut: I love the toasted aroma it brings, but if you want a milder flavor, try untoasted. The toasted version adds a nutty, caramel note that really enhances the cookies.
- Butter: I prefer unsalted, softened butter for easy mixing and a rich, slightly savory depth. If you’re vegan, coconut oil works, but the texture will be a tad more crumbly.
- Sugar: I use a mix of white and brown sugar for balance—brown adds moisture and a hint of molasses. If you skip the brown, the cookies will be lighter and crisper.
- Eggs: They bind everything together and give a slight rise. For an egg-free version, mashed banana or flaxseed meal can work, but expect a denser cookie with a richer flavor.
- Vanilla extract: Just a splash really lifts the coconut flavor and adds warmth. If you’re out, a tiny bit of coconut extract can deepen the tropical vibe, but don’t overdo it.
- Flour: All-purpose flour is my go-to. For a gluten-free version, try almond or oat flour, but the texture will change slightly—more tender or crumbly, depending on the swap.
- Salt: It’s small but mighty—just a pinch enhances all the flavors. If you’re watching sodium, reduce a bit, but don’t omit entirely or the cookies might taste flat.
Spotlight on key ingredients
Shredded coconut:
- I love the toasted aroma it brings, but if you want a milder flavor, try untoasted. The toasted version adds a nutty, caramel note that really enhances the cookies.
- Butter: I prefer unsalted, softened butter for easy mixing and a rich, slightly savory depth. If you’re vegan, coconut oil works, but the texture will be a tad more crumbly.
- Sugar: I use a mix of white and brown sugar for balance—brown adds moisture and a hint of molasses. If you skip the brown, the cookies will be lighter and crisper.
Eggs:
- Vanilla extract: Just a splash really lifts the coconut flavor and adds warmth. If you’re out, a tiny bit of coconut extract can deepen the tropical vibe, but don’t overdo it.
- Flour: All-purpose flour is my go-to. For a gluten-free version, try almond or oat flour, but the texture will change slightly—more tender or crumbly, depending on the swap.
- They bind everything together and give a slight rise. For an egg-free version, mashed banana or flaxseed meal can work, but expect a denser cookie with a richer flavor.
Notes for ingredient swaps
- Dairy-Free: Swap butter for coconut oil or margarine. Expect a slightly crumblier texture, but the coconut flavor still shines.
- Sweetener Options: Use maple syrup or honey instead of sugar. They add moisture and a rich, floral sweetness, but may make cookies a bit softer.
- Egg Alternatives: Try mashed banana or applesauce. They’ll add moisture and a mild sweetness, but the cookies might spread more and be denser.
- Shredded Coconut: Unsweetened is best, but sweetened works if you prefer a sweeter cookie. Toasted coconut adds a deeper, smoky aroma.
- Flour Choices: Almond or oat flour can replace all-purpose. They bring a tender crumb, though the cookies may be more fragile or crumbly.
- Salt: Reduce to a pinch if on a low-sodium diet, but don’t omit entirely, or the flavor might feel flat and dull.
- Add-ins: Toss in chocolate chips or dried fruit for extra flavor. Chocolate adds richness, dried fruit gives chewy bursts of sweetness.
Equipment & Tools
- Mixing bowls: Combine ingredients smoothly
- Electric mixer or whisk: Cream butter and sugar efficiently
- Measuring cups and spoons: Accurately portion ingredients
- Baking sheet: Hold cookies during baking
- Parchment paper or silicone mat: Prevent sticking and easy cleanup
- Wire rack: Cool cookies evenly and prevent sogginess
Step-by-step guide to coconut cookies
- Gather your ingredients: shredded coconut, softened butter, sugar, eggs, vanilla extract, all-purpose flour, and a pinch of salt.
- Preheat your oven to 180°C (350°F). Line a baking sheet with parchment paper or a silicone mat.
- In a large bowl, cream together 1 cup of softened butter with 1/2 cup each of white and brown sugar until light and fluffy, about 2-3 minutes.
- Add 1 large egg and 1 teaspoon vanilla extract. Mix until well combined, focusing on a smooth, glossy mixture.
- Fold in 1 1/2 cups shredded coconut. It should be evenly distributed, with a slightly toasted aroma starting to rise.
- In a separate bowl, whisk together 1 1/4 cups all-purpose flour, 1/4 teaspoon salt. Gradually add to wet ingredients, mixing just until combined.
- Using a cookie scoop or tablespoon, portion dough onto the prepared baking sheet, spacing about 2 inches apart.
- Bake for 12-15 minutes, or until the edges are golden brown and the tops are set but still slightly soft in the center.
- Once out of the oven, let the cookies rest on the baking sheet for 5 minutes, then transfer to a wire rack to cool completely—this helps set the edges.
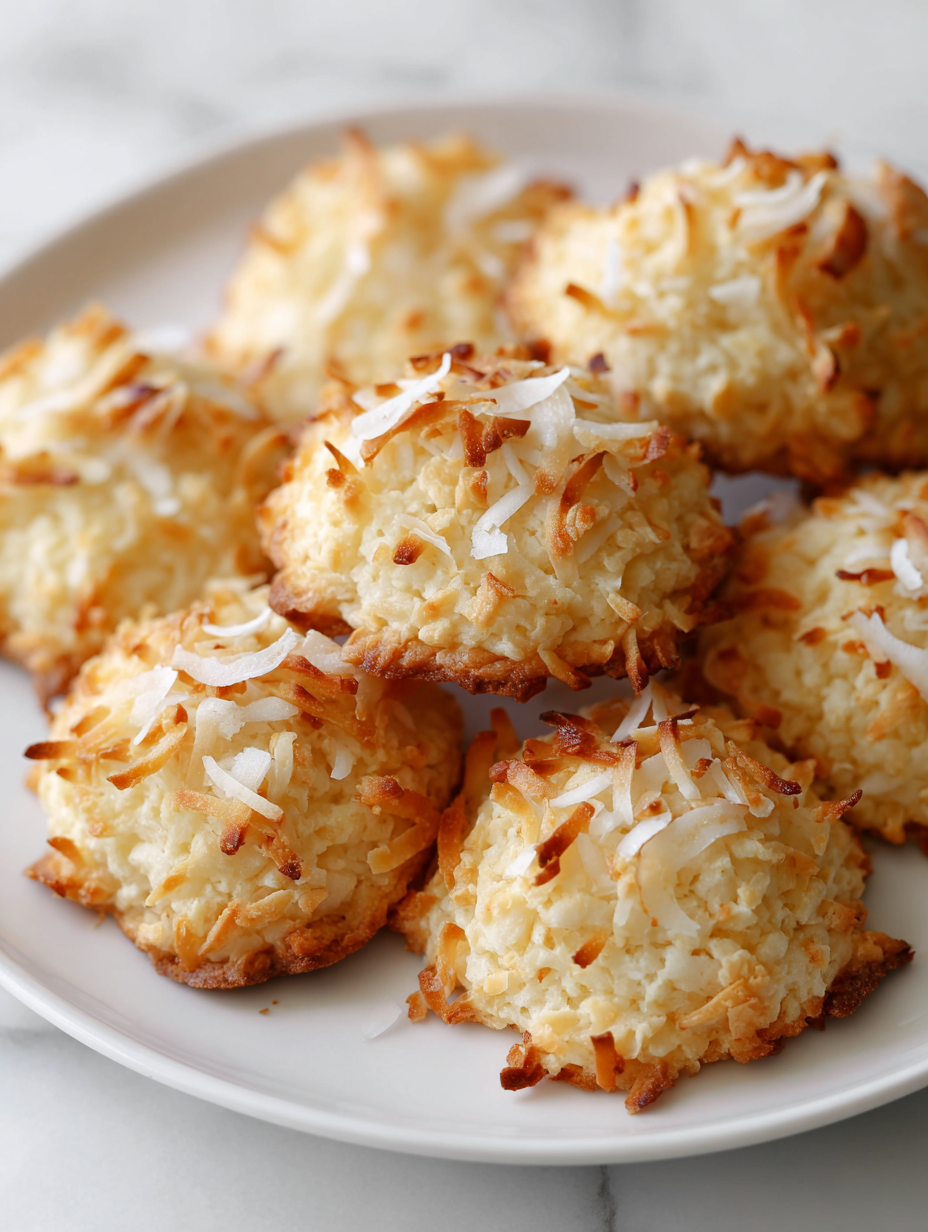
- For the best texture, allow cookies to cool completely before storing or serving. They should be chewy with crispy edges, fragrant with toasted coconut.
Allow cookies to cool completely on a wire rack. Serve with a cup of tea or coffee, or pack into an airtight container for later. They keep well for up to a week, maintaining their chewy interior and crispy crust.
How to Know It’s Done
- Edges are golden and slightly crisp when baked.
- Cookies feel firm but not hard when gently pressed.
- A toasted coconut aroma wafts when cooled and broken open.
Nut-Free Coconut Cookies
Ingredients
Equipment
Method
- In a large mixing bowl, beat together the softened butter, white sugar, and brown sugar using an electric mixer or whisk until the mixture is light, fluffy, and slightly pale, about 2-3 minutes. The sound should be gentle and the texture airy.
- Add the large egg and vanilla extract to the creamed mixture. Mix again until the ingredients are well incorporated and the mixture is glossy, about 1 minute. You'll smell a sweet aroma as the flavors meld.
- Gently fold in the shredded coconut, mixing just enough to evenly distribute it throughout the batter. The mixture should become slightly thicker and fragrant with toasted coconut aroma if you've toasted it beforehand.
- In a separate bowl, whisk together the all-purpose flour and salt. Gradually add the dry ingredients to the wet mixture, folding gently with a spatula or spoon until just combined. The dough will be slightly sticky but manageable.
- Line your baking sheet with parchment paper or a silicone mat. Using a cookie scoop or tablespoon, portion out the dough and place each ball about 2 inches apart on the sheet. Press lightly to flatten them slightly if you prefer a more uniform shape.
- Bake in a preheated oven at 180°C (350°F) for 12-15 minutes, or until the edges are golden brown and the tops look set. You should hear a gentle crackle and smell toasted coconut as the cookies bake.
- Remove the baking sheet from the oven and let the cookies rest for 5 minutes. They will be soft but firm up as they cool. Gently transfer them to a wire rack to cool completely, allowing the edges to crisp up and the coconut aroma to deepen.
- Once cooled, enjoy these chewy, toasted coconut cookies with a cup of tea or coffee. Store leftovers in an airtight container at room temperature for up to a week, or freeze for longer storage.
Pro tips for perfect coconut cookies
- Bolded Mini-Head: Toast the coconut until golden for a nutty, aromatic boost that intensifies flavor.
- Bolded Mini-Head: Chill your dough for at least 30 minutes to prevent spreading and improve texture.
- Bolded Mini-Head: Use a cookie scoop to ensure evenly sized cookies that bake uniformly.
- Bolded Mini-Head: Keep an eye on the edges; they should turn a rich amber, signaling perfect doneness.
- Bolded Mini-Head: For crispy edges, bake on a silicone mat or parchment paper to prevent sticking and promote even browning.
- Bolded Mini-Head: Slightly underbake if you prefer chewy centers; they firm up as they cool.
- Bolded Mini-Head: Rest baked cookies on a wire rack for 5 minutes before transferring to cool completely.
Common mistakes and how to fix them
- FORGOT to measure ingredients precisely → Always use standard measuring tools for consistency.
- DUMPED in all ingredients at once → Add ingredients gradually, mixing well after each addition.
- OVER-TORCHED cookies → Remove from oven once edges are golden and center looks slightly underdone.
- FAILED to cool cookies properly → Rest on a wire rack for even cooling and crisp edges.
Quick fixes and pantry swaps
- When cookies spread too much → Chill the dough for 30 minutes before baking.
- If cookies are too soft → Increase baking time by 2 minutes, watch for golden edges.
- Splash a little extra coconut on top → Adds aroma and a toasted look, brightens flavor.
- Patch over a crackling top → Lower oven temperature slightly and bake a minute longer.
- Shield burnt edges → Cover with foil mid-bake if edges brown too quickly.
Prep, store, and reheat tips
- Prep the dough ahead by shaping into logs or discs, then refrigerate for up to 24 hours. The chilled dough is easier to handle and results in a more uniform bake.
- Store baked cookies in an airtight container at room temperature for up to a week. The coconut flavor deepens slightly, and they stay chewy with crispy edges.
- Freeze unbaked dough balls wrapped tightly in plastic wrap for up to 3 months. Thaw in the fridge before baking for a fresh, warm coconut aroma.
- Reheat cookies briefly in a 150°C (300°F) oven for 3-5 minutes. Expect the edges to shimmer with warmth and the coconut aroma to intensify.
- If cookies become a bit stale, a quick reheat or placing a slice of bread in the container can restore moisture, making them chewy and fragrant again.
Top questions about coconut cookies
1. How do I know when coconut cookies are done baking?
Look for cookies that are golden around the edges and feel firm but give slightly when pressed. A good crackle sound when you tap them means they’re crispy enough.
2. What’s the best smell indicator for baked coconut cookies?
They should smell toasted and sweet, with a fragrant coconut aroma filling your kitchen. The edges will look golden, and the surface might crack slightly.
3. Why are my cookies soft or undercooked?
If they look pale or feel soft in the center, pop them back in for a few more minutes. Avoid overbaking, as they can turn hard and dry.
4. How can I prevent cookies from spreading too much?
Use fresh, softened butter and measure your ingredients accurately. Chilled dough helps cookies hold their shape and prevents spreading too much.
5. How should I store coconut cookies?
Store cookies in an airtight container at room temperature for a week. For longer storage, freeze the unbaked dough for up to 3 months, then bake from frozen.
6. Can I make these cookies dairy-free?
Yes, you can swap coconut oil for butter if you’re vegan or avoiding dairy. Expect a slightly softer, more crumbly cookie with a hint of coconut flavor.
7. What’s a good egg substitute for this recipe?
Replace eggs with mashed banana or flaxseed meal. Expect a denser texture and a richer flavor, but the cookies may spread a bit more.
8. Should I use toasted or untoasted coconut?
Use untoasted shredded coconut for a milder flavor, or toasted for a deeper, caramelized aroma. Toasted coconut adds crunch and a smoky sweetness.
9. What if my cookies burn too quickly?
If the edges are burning, reduce oven temperature slightly or bake on a silicone mat for even heat distribution. Keep a close eye near the end of baking.
10. How can I tell if my cookies are perfectly baked?
When the edges turn a rich amber and the tops are set but still soft, they’re ready. Cool on a wire rack to finish setting the texture.
Making these coconut cookies is like capturing a little piece of sunshine, especially when the coconut aroma fills the kitchen. They’re simple, honest treats that bring a warm, tropical vibe to any day, whether it’s a cozy afternoon or a quick snack fix. Once cooled, they hold onto that perfect balance of chewy and crispy, a reminder that good things often come from straightforward ingredients.
Sharing them feels right now—no fuss, just pure, honest baking. Every bite carries a bit of nostalgia and a touch of pride, knowing they’re accessible, allergy-friendly, and still totally satisfying. Sometimes, the best recipes are the ones that make you smile with every crackle and sweet coconut note.

Hey there, I’m Devon Harper. I run a small neighborhood café by day, cook most of my meals far too late at night, and write Midnight Grocery Runs somewhere in between. If you’ve ever wondered whether something simple could turn into something comforting after a long day, you’ll feel right at home here.


